Setup
Last updated: 1 year ago • 5 versions | Visibility: Public
Setup
Install packages
Via Git URL
1. Open Package Manager in Unity Editor (Window > Package Manager)
2. Click on the "+" button at the upper left and select "Add package from Git URL..."

3. Enter following paths
- Lynx Core: https://github.com/Lynx-MR/UnitySDK.git?path=/Packages/Core
- Lynx Modules: https://github.com/Lynx-MR/UnitySDK.git?path=/Packages/Modules
Via OpenUPM
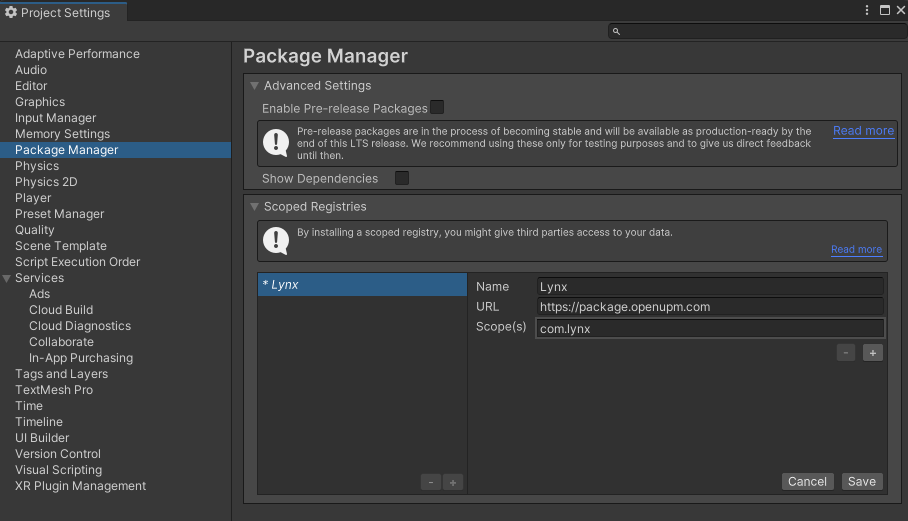
Under Project Settings > Package Manager, add a new registry
- Name: Lynx
- URL: https://package.openupm.com
- Scope(s): com.lynx

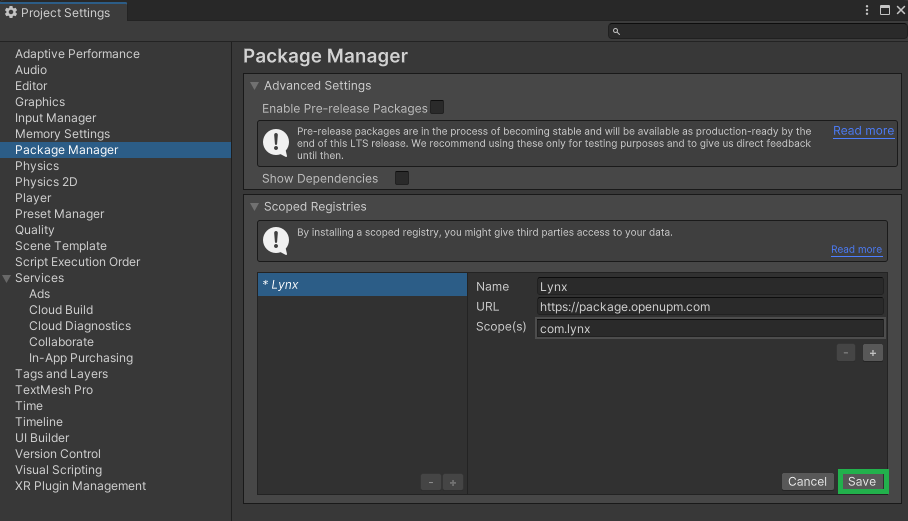
Then, click on the "save" button

Now, you can import Lynx sources from the Package Manager
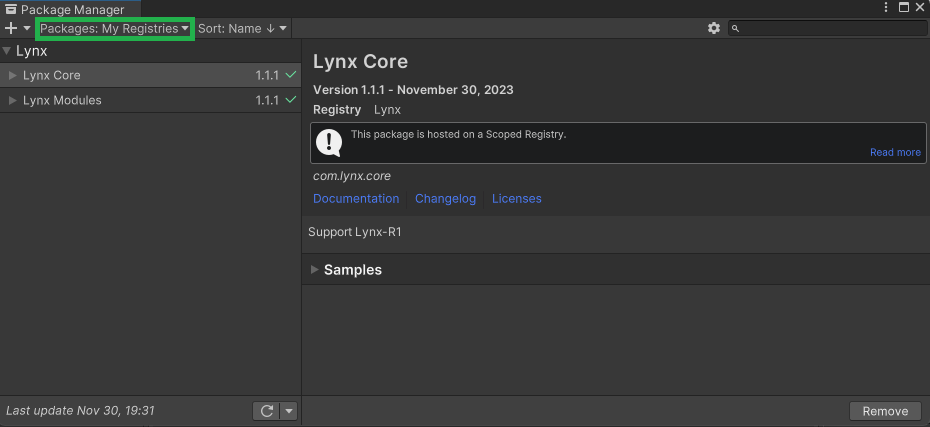
- Open Window > Package Manager
- Select "My registries"
- Install Core and Modules (the project will restart if OpenXR was not previously installed)

Configure
Project configuration
a. One-click configuration
To build an application for the Lynx-R1, use the "Lynx" menu to automatically configure the project for you.
Lynx > Settings > Configure project settings

A popup indicating the changes on your project should appear. You can "Validate" the changes.

(1 error log could appear for TextMeshPro without consequences)
b. Manual configuration
To be able to build applications for the Lynx-R1, we recommend to use the following settings:
- Switch to Android platform
- Target ARM64 architecture (the headset is based on the Qualcomm XR2 SoC)
- Enable multithreading rendering
- Set Landscape left presentation
- Target OpenGLES Graphics API (Vulkan is supported but not perfectly stable for now)
- Set target Android API 10
- Under OpenXR Section
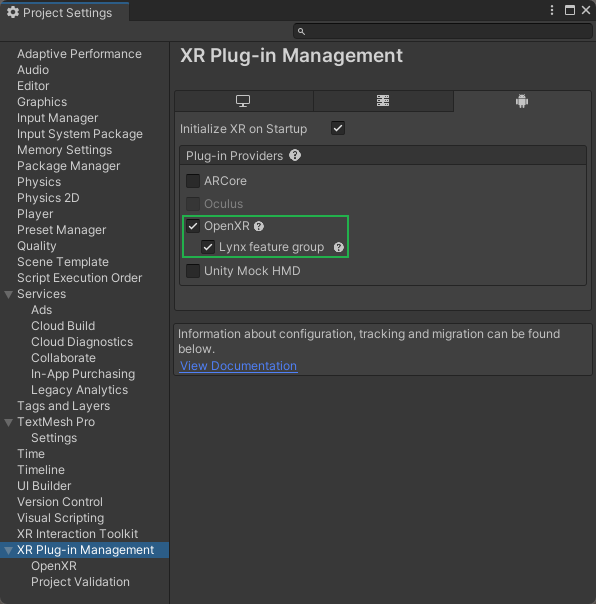
- Select OpenXR in XR Plugin Management (currently not set with the automated configuration)
- Enable Lynx-R1
If you want to use the hand tracking, you'll have to add the following settings under OpenXR section:
- Select Hand Interaction Profile
- Enable Hand Tracking Subsystem
- Enable Meta Hand Tracking Aim

Warning: enabling OpenXR from code is currently unstable on this version. Please enable it on Project Settings > XR Plugin Management > enable OpenXR (Android tab).

Scene setup
As Lynx is based on OpenXR and XRI, you can use already existing assets and samples for XR.
If you want to start a new scene from scratch, you can follow these steps:
- Create a new scene
- Remove the Main Camera
- Add XR Origin
By building and installing the apk, you should now be able to navigate in your scene.
For further information, please check these pages:
- Features - Learn to manage AR and VR on the Lynx-R1
- UI - Basic 2D elements to quickly develop interfaces
- Samples - Take a look at the sample scenes presenting Lynx features